Secrets to a Perfect Paella: Mastering the Fire, the Rice, and the Soul of Spain

By Andrew Sandevick and Will Wong

Secrets to a Perfect Paella: Mastering the Fire, the Rice, and the Soul of Spain

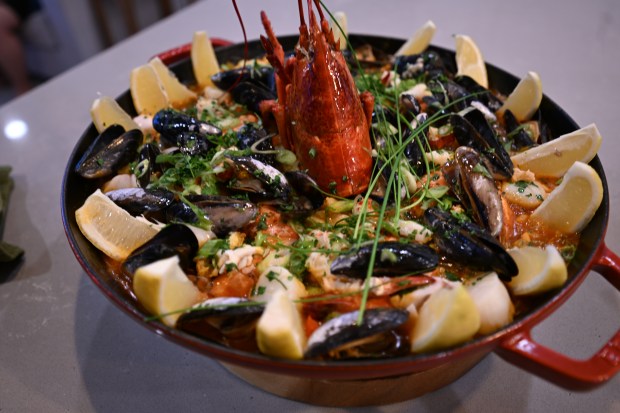
There are few culinary rituals as captivating, communal, and visually stunning as crafting an authentic Spanish paella. The gentle hiss of olive oil in a wide pan, the rich, smoky aroma of Spanish paprika, the vibrant golden-orange hue of real saffron, and a crown of fresh, premium seafood—it is a sensory feast before you even take your first bite.

While it looks like a masterpiece, making a world-class paella at home is entirely achievable. It isn’t about complicated techniques; rather, it’s about honoring a few essential rules of Spanish kitchen chemistry and using high-quality, authentic ingredients.

Here are the ultimate secrets to elevating your paella from a simple rice dish to an unforgettable culinary experience.


1. The Foundation: The Holy Trinity of Paella

The magic of a great paella lies in its base. If you get these three elements right, the rest of the dish will effortlessly fall into place:

  • The Sofrito: This is the flavor engine. A traditional sofrito is a slowly caramelized, aromatic jam of onions, sweet bell peppers, garlic, and grated fresh tomatoes. Sautéed patiently in a generous pool of quality Spanish olive oil, it sweetens and concentrates, laying down a deep, savory foundation.
  • Real Spanish Saffron: Often called “red gold,” real saffron threads provide the signature earthy, honey-like aroma and gorgeous golden glow of paella. The Secret: Never toss dry threads directly into the pan. Instead, gently toast them, crush them lightly, and let them steep in a cup of warm broth before adding it to the rice.
  • The Right Rice (And No Stirring!): Authentic paella requires short-grain Spanish rice, such as Bomba or Senia. Unlike Italian Arborio (which is creamy), Spanish round rice is prized for its ability to absorb up to three times its volume in flavorful liquid while remaining firm, plump, and beautifully separate.The Golden Rule: Once you pour in your liquid and distribute the rice evenly across your pan, put your spoon away and do not stir! Stirring releases starch, which turns the dish sticky and mushy. Let the rice simmer and absorb the liquid undisturbed.

2. Layering the Proteins: Chorizo, Chicken, and Homemade Stock

Before the rice is added, you want to build complex layers of flavor in your pan:

  • Spanish Chorizo & Chicken Thighs: We begin by searing bone-in, skin-on chicken thighs to render their fat and brown the skin, followed by sliced cured Spanish chorizo. The chorizo releases its signature smoky, spiced oils (rich with sweet and hot pimentón), which coat the pan and season the rice grains as they toast.
  • Smoked Spanish Paprika (Pimentón de la Vera): Just a teaspoon of this wood-smoked, authentic paprika adds a characteristic wood-fired depth, even if you are cooking on a kitchen stove or patio burner.
  • Deep, Rich Homemade Stock: Do not use store-bought cartons here. A truly great paella depends on a robust, homemade stock. Simmer roasted chicken bones with sweet blue crab or shrimp shells, aromatic vegetables, and a pinch of saffron to create a liquid gold that the rice will greedily drink up.

3. The Crowning Glory: Premium Seafood

A show-stopping paella deserves a crown of spectacular, fresh seafood. To keep the textures absolutely perfect, each element should be treated with care:

  • Lobster: Splitting a fresh lobster lengthwise and resting it right in the center of the pan not only makes for an jaw-dropping presentation but also infuses the rice beneath it with a sweet, luxurious essence.
  • Sea Scallops & Rockfish: Wild-caught rockfish holds its shape beautifully without flaking into tiny pieces. We quickly sear the scallops and fish first, remove them, and tuck them back into the rice during the final minutes so they remain tender and succulent.
  • PEI Mussels & Large Prawns: Fresh Prince Edward Island mussels are pressed hinge-down into the rice. As they steam open, they release their briny, natural juices directly into the dish. Ring the perimeter of your pan with head-on jumbo prawns for the ultimate coastal finish.

4. The Grand Finale: Achieving the “Socarrat”

The ultimate mark of a paella master is the socarrat—the highly coveted, deeply caramelized, and crispy crust of rice that forms at the very bottom of the pan.

To achieve this:

  1. When all the liquid has been fully absorbed by the rice, you will hear the sound change from a bubbling simmer to a distinct, gentle crackle.
  2. Turn the heat up to medium-high for the last 2 to 3 minutes. Keep a close eye (and nose) on it—you want a toasted, nutty aroma, not a burnt one.
  3. Turn off the heat, cover the pan with a clean kitchen towel, and let it rest for 5 to 10 minutes before serving. This relaxes the top grains of rice while locking in that crispy, smoky crunch on the bottom.

Garnish generously with fresh lemon wedges and long, elegant cuts of wild chives, carry the pan straight to the table, and let everyone dig in!

Canelés de Bordeaux


Canelés: A Taste of Bordeaux

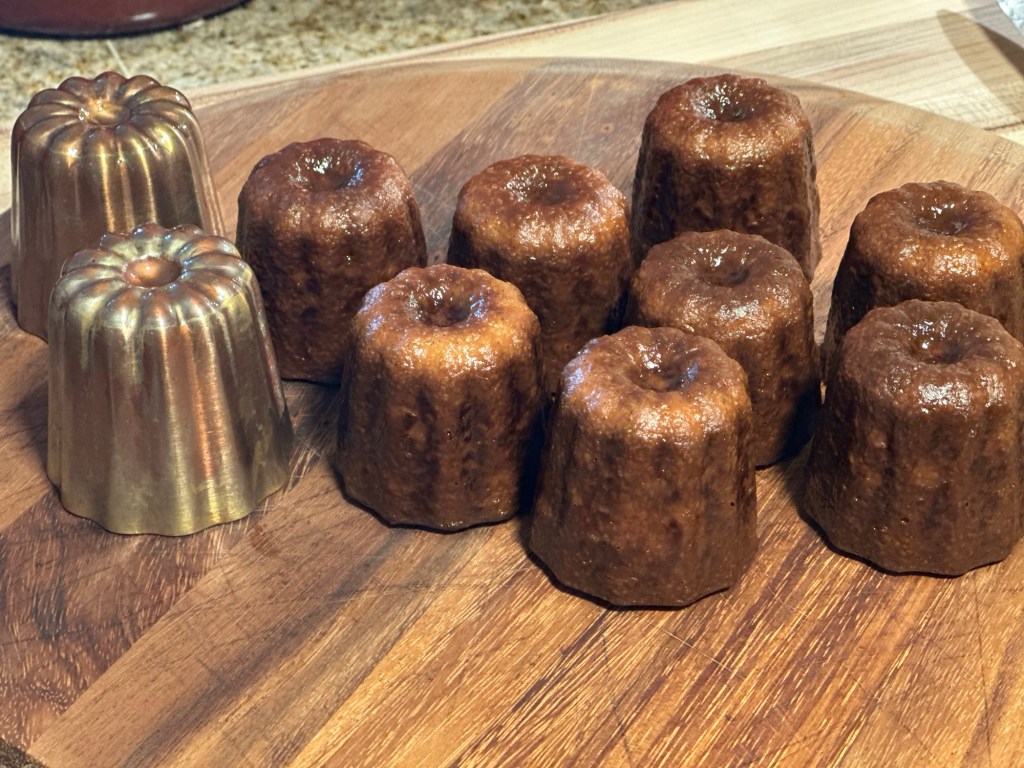
Canelés are a delightful specialty from Bordeaux, France, with a history stretching back to the 15th century. Originally, nuns in convents crafted these delicate cakes using lard. The name itself, “Canelé,” means “fluted” in French, a nod to their distinctive shape. They’re renowned for their crispy outer shell that gives way to a crème brûlée-like custard interior.

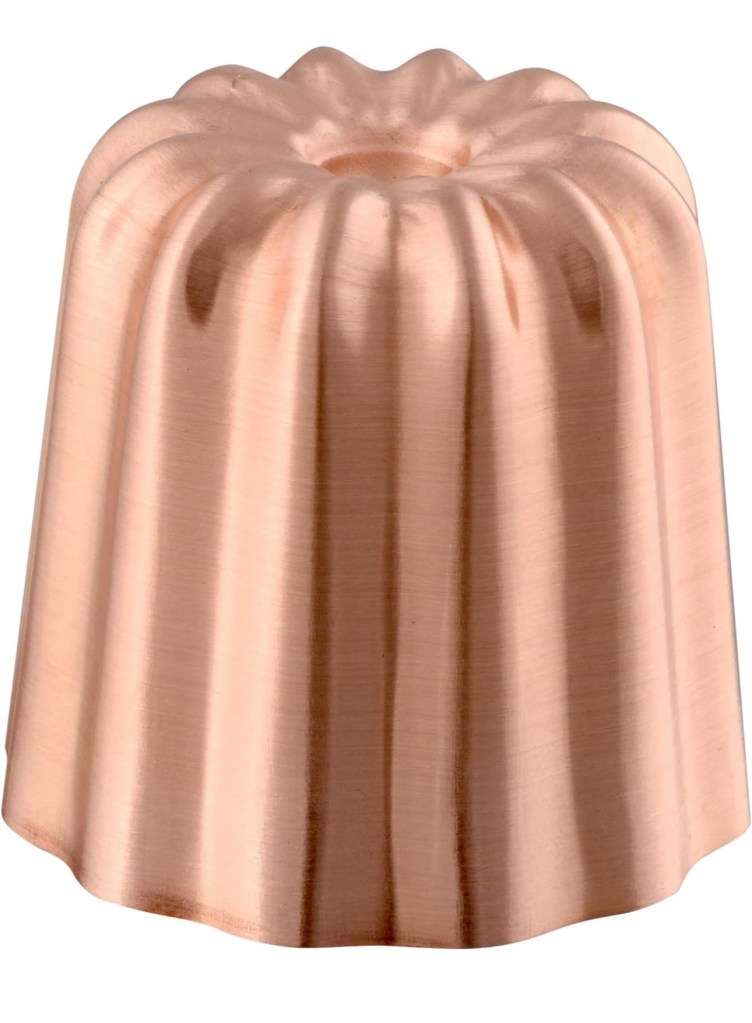
I recently felt the urge to master authentic Canelés once again. My previous attempts with silicone molds weren’t ideal, so I invested in a set of Mauviel M’Passion French copper Canelé molds—and it was absolutely worth it! After extensive research, I settled on two recipes to try. The key to superb results is planning: you really need to prepare the batter 48 hours in advance. While some recipes suggest 24 hours is sufficient, I’ve found that a full 48-hour rest truly produces the best outcome.

My Go-To Recipe:

Here’s the recipe that yields exceptional Canelés:

  • 1 vanilla bean (split and seeds scraped)
  • 500 ml organic whole milk
  • 200 gr cane sugar
  • 100 gr all-purpose flour
  • 50 gr French butter (83%)
  • 2 large eggs
  • 2 large egg yolks
  • A generous pinch of Fleur de Sel
  • 60 ml dark rum

For Coating the Canelé Molds:

  • 40 gr beeswax (food grade)
  • 60 gr French butter

Mode D’emploi (Instructions):

  1. Prepare the Batter: Bring the milk and split vanilla bean to a simmer. In a separate bowl, combine the sugar, eggs, and yolks, mixing until you have a smooth paste. Add the flour and salt, mixing again until smooth. Slowly temper in the hot milk mixture. Strain the batter through a fine sieve, then cover and refrigerate for 48 hours.
  2. Prepare the Canelé Molds: Melt the butter and beeswax together. Pour some of the butter-wax mixture into one Canelé mold, swirl to coat, then pour the excess into another mold. Continue this process until all molds are coated. Place the coated molds upside down to drain off any excess butter/wax.
  3. Bake the Canelés: Heat your oven to 450°F (232°C). Pour the chilled batter into the prepared molds, filling them to about 1/4 inch from the rim. Place all filled molds on a sheet pan to catch any drippings.
  4. Bake at 450°F (232°C) for 15 minutes. Reduce the heat to 350°F (175°C) and continue baking for 50 to 60 minutes. It’s crucial not to open the oven door during this time.
  5. Cooling: Immediately unmold the Canelés after baking and let them cool completely.

Yields: 12 Canelés

Bon Appétit!

Mauviel M’Passion Copper Canelé molds 2.2”

Tips for making Croissants


Tips for Perfect Parisian Croissants

To make truly exceptional Parisian croissants, start with quality ingredients. This means using an 83-85% European-style butter and a high-gluten bread flour.

Le Petit Déjeuner

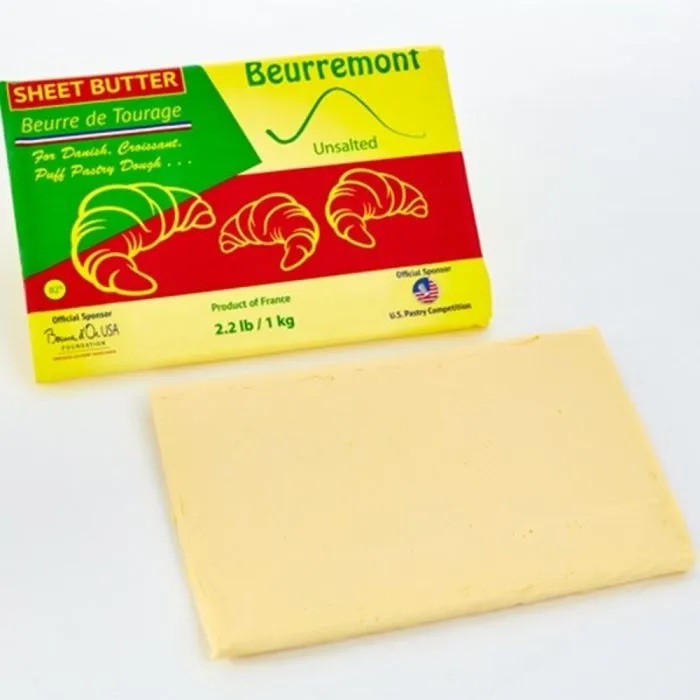
I find I get good results using Wüthrich’s 83% European Style butter and Beurremont 83% European style butter. Both have great flavor and produce flaky and rich buttery croissants.

Wisconsin’s Wüthrich 83% Butter
Vermont’s Beurremont 83% European Style Butter

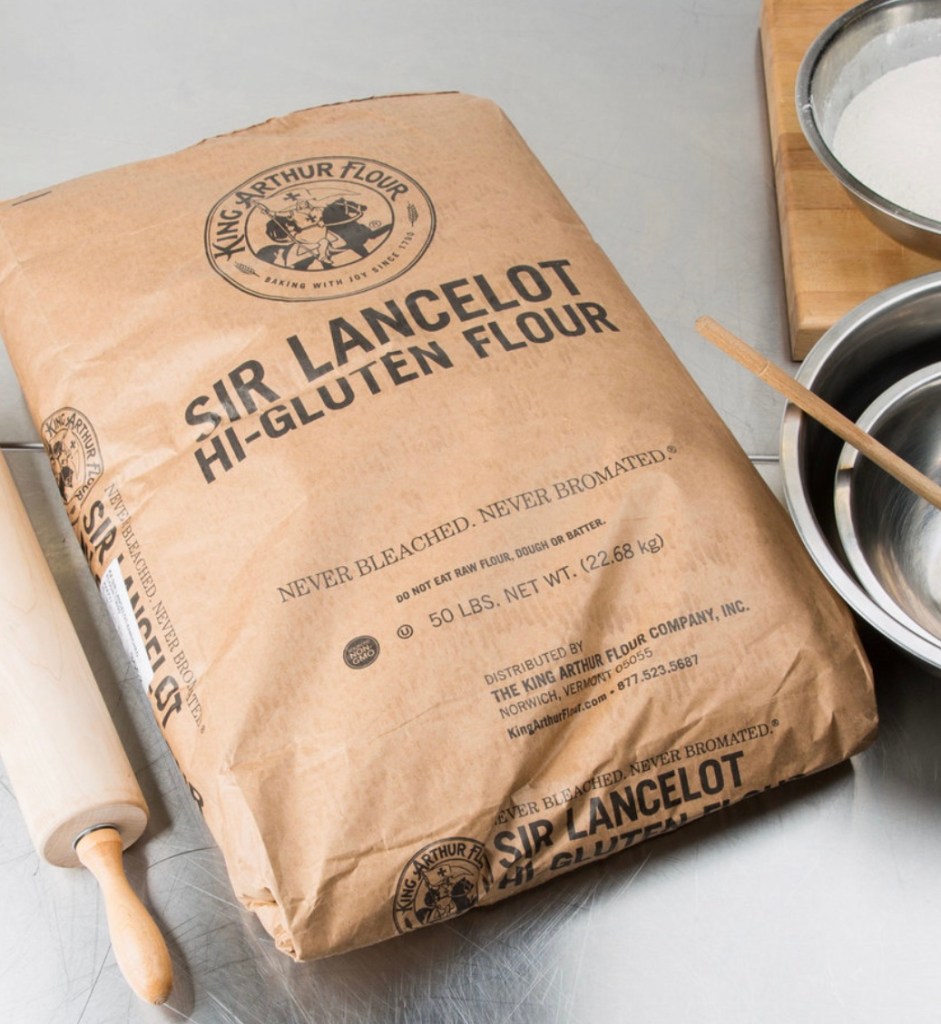
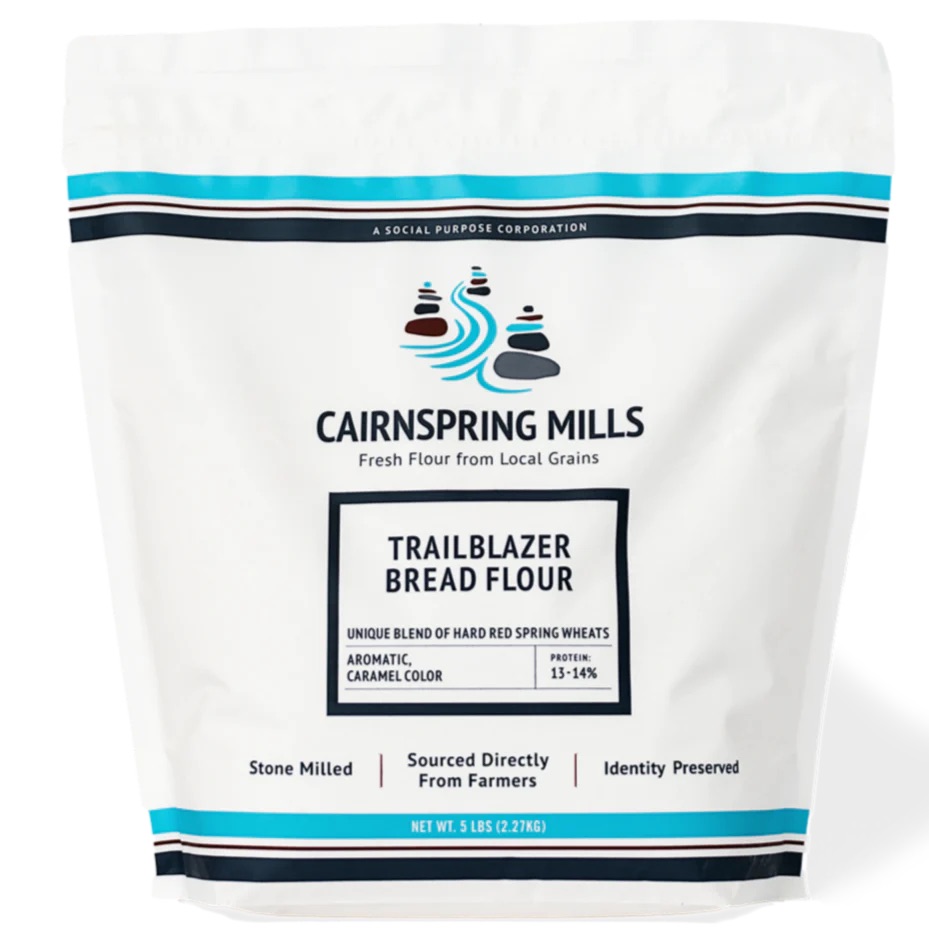
Here are some quality high gluten bread flours, crucial to producing great croissants. King Arthur’s High Gluten Bread Flour is a great product as well as Cairnspring Mill’s Trailblazer Bread Flour; Washington State’s Organic Locally produced Flour. Both perform very well.


Understanding the Détrempe

Détrempe is the French term for the base dough used in laminated pastries, before the butter is incorporated. For the best results, prepare your détrempe the day before you plan to use it and refrigerate it for 12-24 hours.


Lamination and Shaping

For the lamination process, I begin with a double fold (or book fold), followed by two single folds, letting the dough rest for 30 minutes in the fridge between each fold.

After the folds, I place the laminated dough in the freezer for two hours, then transfer it to the refrigerator to thaw. Once thawed, I roll the dough out to a 5mm thickness using a dough sheeter or by hand.

Next, I cut the dough into elongated isosceles triangles, 9 inches tall with a 4-inch base. I make a 3/4-inch slit at the center of the base of each triangle. Finally, I roll up the dough to form the classic croissant shape. After shaping, I let the croissants rest in the refrigerator for an hour.


Proofing Croissants

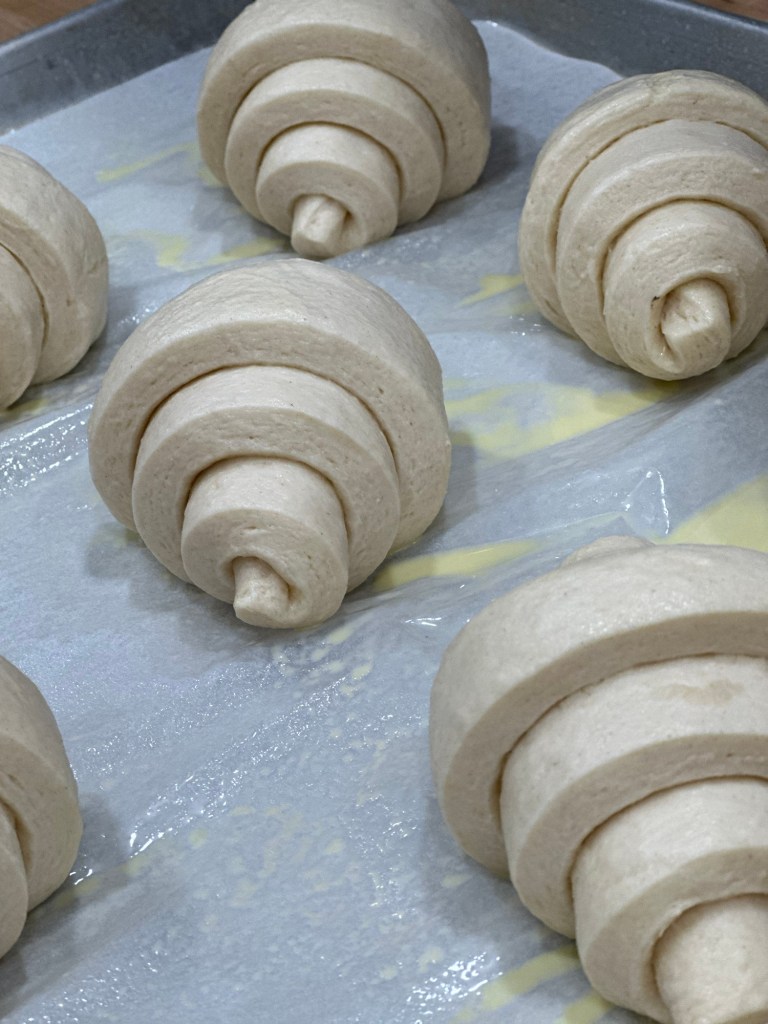
When proofing croissants, always ensure a warm environment, but no warmer than 85°F (29°C). If the temperature is too high, the butter within the dough will melt and leak out, compromising the flaky layers. Patience is key here; croissants typically require a longer proofing time compared to other breads.

Fully Proofed Croissants


Baking Your Croissants

I like to egg wash the raw croissants twice: once at the beginning of their proofing cycle, and again just before they go into the oven.

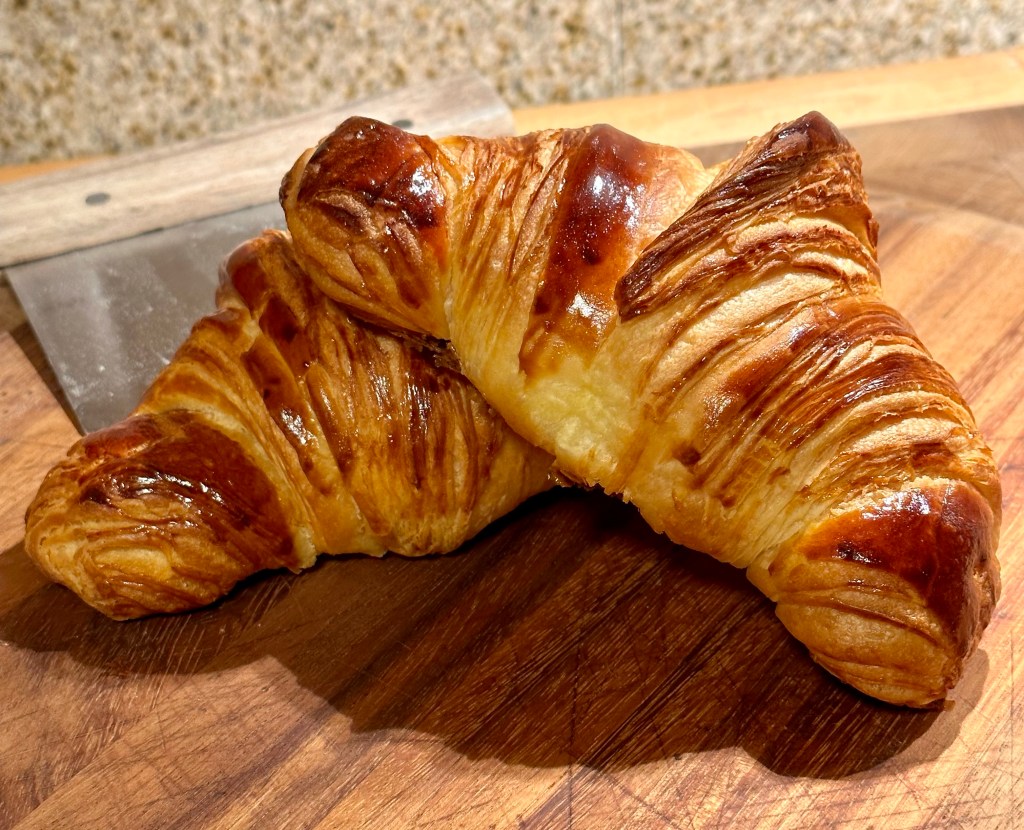
Once your croissants have doubled in size, place them in a 360°F convection oven for 20-22 minutes, or until they achieve a beautiful, even, deep golden color.


Freezing Croissants for Later

You can absolutely shape the dough and freeze the croissants for future use. To protect them, place them in a resealable freezer bag with a piece of parchment or waxed paper inside; this will help prevent ice crystals and freezer burn. They’ll keep well in the freezer for up to a month.

I hope these tips help you create delicious, buttery, and flaky croissants, just like the professionals!

Bon Appetit!

Mango Habanero Pie


Sweet & Spicy Summer Pie

I recently crafted a new sweet and spicy pie, perfect for the summer season! My inspiration came from a recipe for mango habanero butter ganache chocolates.

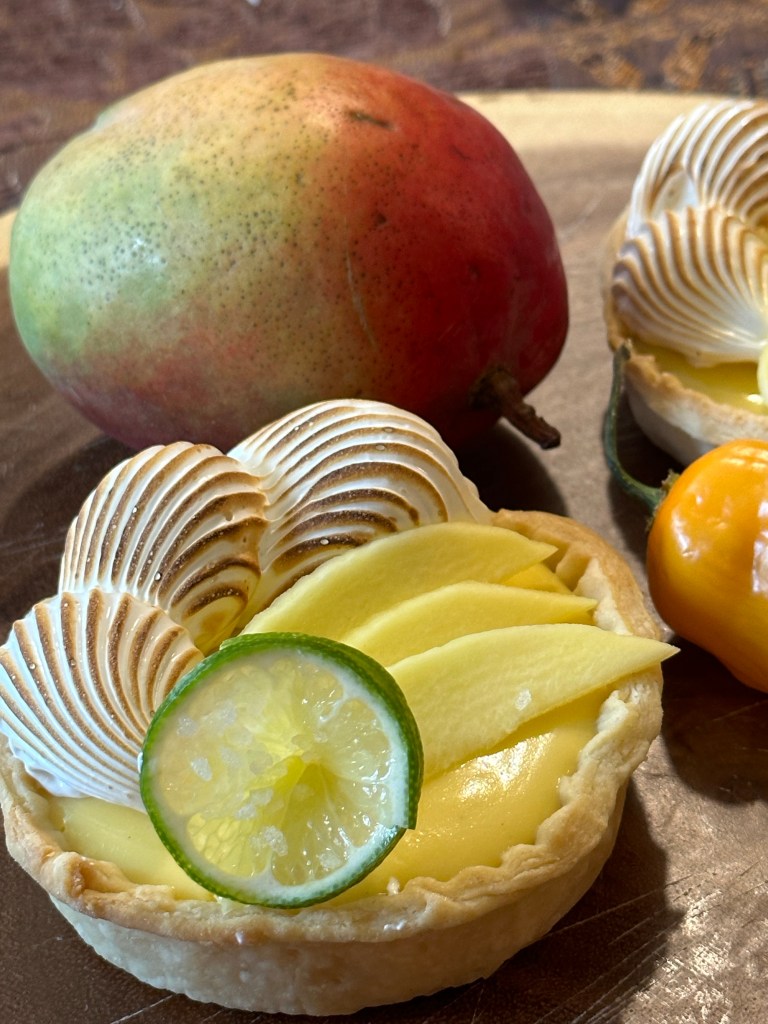
This pie features a light, flaky all-butter pâté brisée crust, generously filled with a fresh mango custard infused with habanero chiles. It’s all topped off with a beautifully toasted Swiss meringue. The subtle heat from the habanero is perfectly balanced by the creamy cream cheese and cream in the custard, creating a harmonious and unforgettable flavor.


Mango Habanero Pie Recipe

Here’s the recipe for a unique sweet and spicy pie, featuring a delicate crust, a vibrant mango habanero custard, and a toasted meringue topping.

Pâté Brisée (All-Butter Pie Crust)

  • 325 gr all-purpose flour
  • 1 tsp salt
  • 1 tsp sugar
  • 8 oz unsalted butter, cold and cubed
  • 4 oz ice water

Instructions:

Combine flour, salt, and sugar. Cut in the cold butter until the mixture resembles coarse crumbs. Gradually add ice water, mixing until just combined. Form into a disk, wrap, and refrigerate for 1 hour before rolling out to 1/8″ thickness and blind baking. This will yield one 9-inch pie shell.


Mango Habanero Custard

  • 1 – 9” pre-baked pie shell
  • 1 ½ oz cold water
  • 2 tbsp granulated sugar
  • ½ tbsp unflavored gelatin powder
  • 1 oz heavy cream
  • 1 oz cream cheese, softened
  • 7 oz mango puree (from fresh mangoes)
  • 1 pinch salt
  • ¼ of a Habanero Chile, seeds removed (adjust to your spice preference)

Instructions:

In a blender, combine the heavy cream, cream cheese, mango puree, sugar, salt, and habanero chile. Blend until completely smooth. In a small bowl, bloom the gelatin by sprinkling it over the cold water and letting it sit for five minutes. Gently warm the bloomed gelatin (microwave or stovetop) until it’s liquid, then slowly temper it into the blended custard base, mixing thoroughly.


Swiss Meringue

  • 4 oz egg whites
  • 7 oz granulated sugar

Instructions:

Combine egg whites and sugar in a heatproof bowl set over a pot of simmering water. Stir continuously until the sugar has fully dissolved and the mixture is warm to the touch (around 160°F). Remove from heat and whip the mixture with an electric mixer until it forms thick, glossy peaks.


Assembly

  1. Pour the prepared mango habanero custard into the pre-baked 9-inch pie shell.
  2. Chill the pie in the refrigerator for at least 1 hour, or until the custard is set.
  3. Once set, pipe the Swiss meringue generously on top of the custard.
  4. Using a kitchen torch, caramelize the meringue until golden brown.
  5. Garnish with fresh mango slices and a sugared lime flower for an elegant finish.

Tips & Tricks for Successful Airbrushing with Colored Cocoa Butter


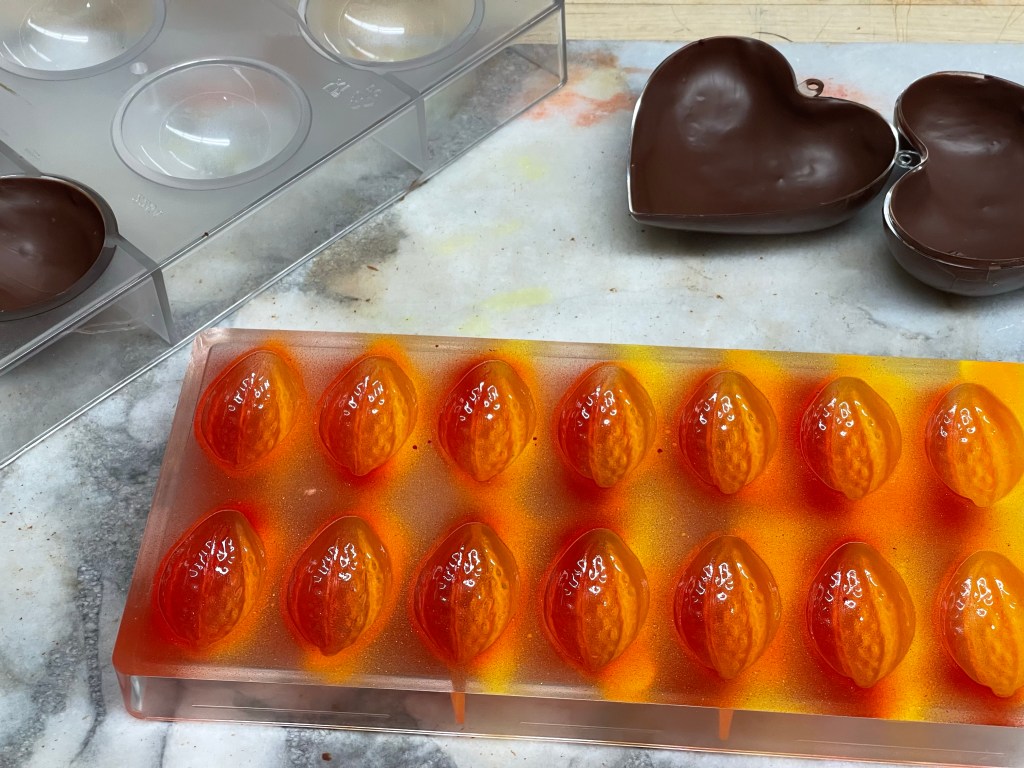
Three Color Cacao Bean


Airbrushing with Colored Cocoa Butter: Tips for Success

Airbrushing with colored cocoa butter can be challenging, but I’ve found a few key techniques that consistently yield great results:

Keep it Warm: It’s crucial to keep your cocoa butter colorant liquid and tempered. I like to use a hair dryer to warm up the airbrush sprayer before and periodically during use. Alternatively, you can warm the sprayer in a warmed oven for a couple of minutes. This helps immensely in keeping the colorant flowing smoothly and preventing clogs.

Equipment Matters: For optimal performance, I use the Master Airbrush Cool Runner II with its 1/5 HP motor. For thicker, more viscous colors, the Iwata-Medea High Performance Hi Line CH Dual Action with Large Gravity Feed Cup has proven to be very effective.


Iwata Medea High Performance
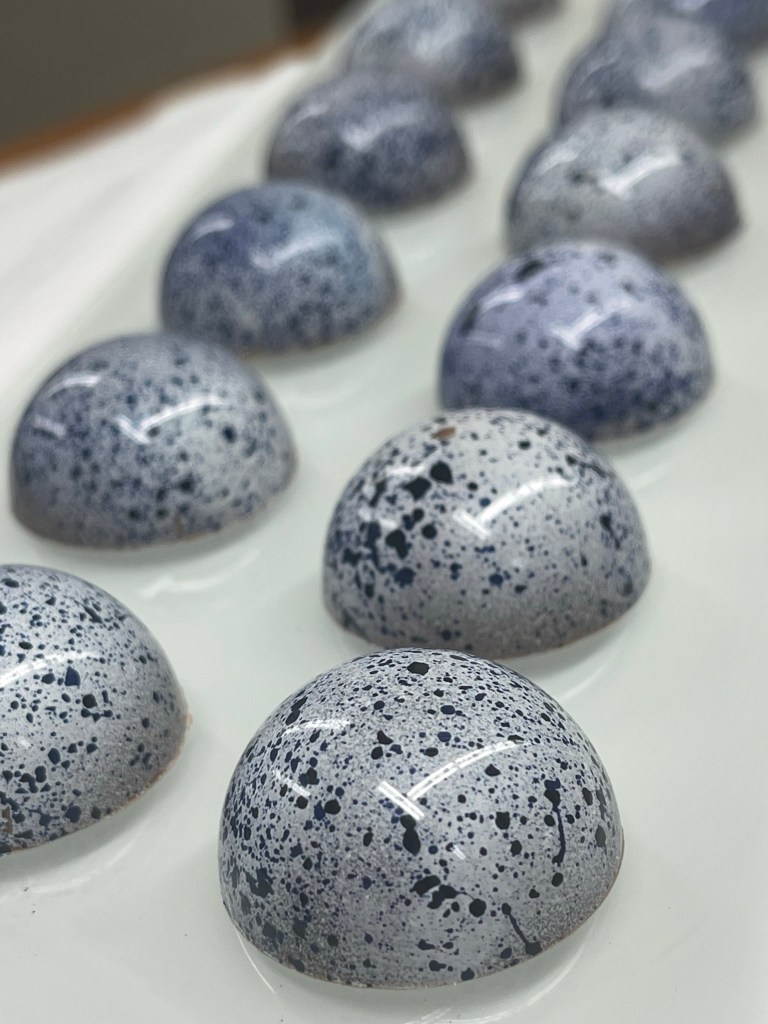
Professional Airbrushed Colored Cocoa Butter chocolates

I hope this helps with your airbrushing projects. Happy Airbrushing!

Imploding Chocolate & Peanut Butter Bomb


My featured signature dessert for February is the “Imploding Chocolate Bomb.” This decadent creation features a rich brownie base, topped with creamy peanut butter mousse, crunchy peanut brittle, and a satisfying peanut crunch. The entire masterpiece is then encased in a beautifully hand-painted Valrhona chocolate sphere, over which warm salted caramel sauce is poured, causing a dramatic and delicious “implosion.”


Cranberry Cordial


Homemade Cranberry Cordial

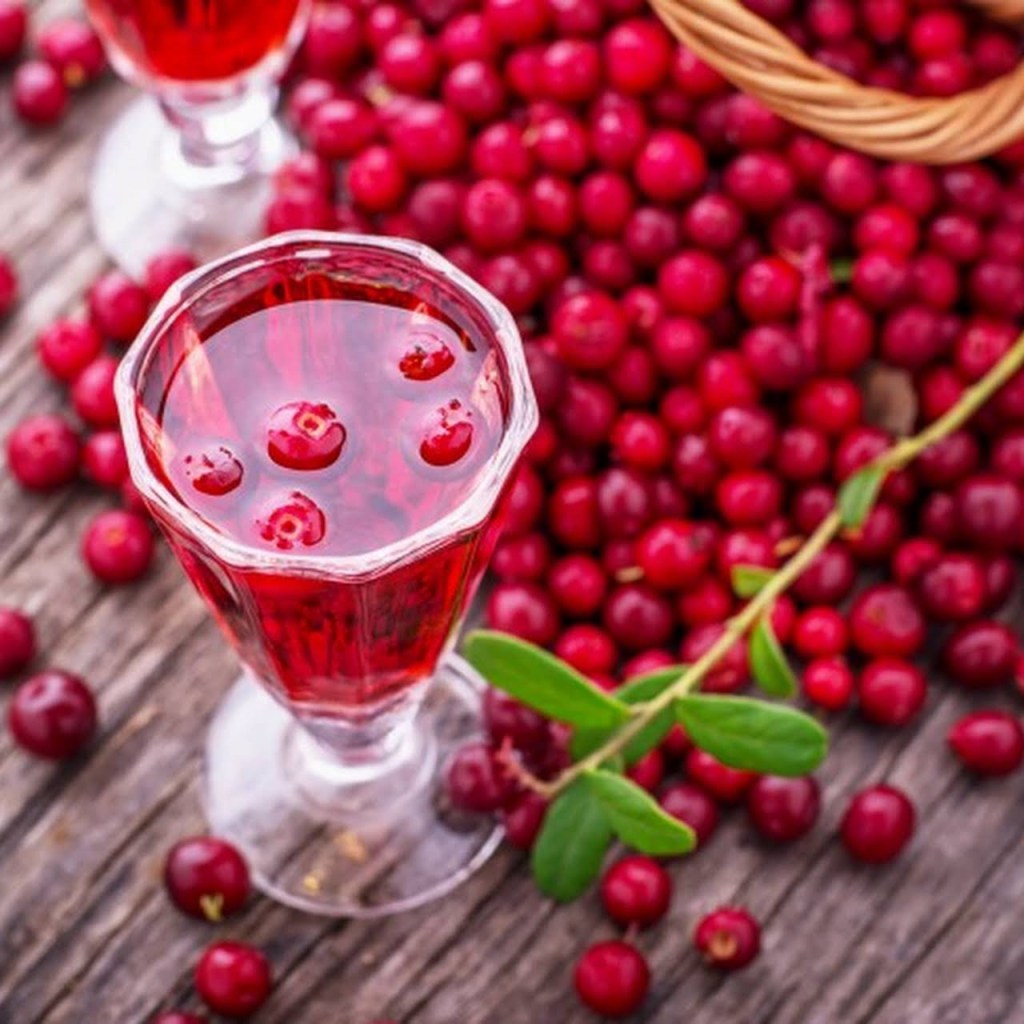
This delicious cranberry cordial is a holiday tradition in my home, perfect for Thanksgiving and Christmas. It makes a fantastic digestif after a big holiday dinner and also serves as a wonderful homemade gift. Just remember, you’ll need to plan ahead and prepare it three weeks in advance!

Ingredients

  • 1 package fresh cranberries
  • 2 cups organic cane sugar
  • 2 cups premium vodka (I prefer Balinoff Vodka from France)

Instructions

  1. Prepare Cranberries: In a food processor, pulse the fresh cranberries just enough to break them up. Don’t over-process them into a puree.
  2. Combine Ingredients: In a large bowl, add the sugar, pulsed cranberries, and vodka. Stir everything together until the sugar has fully dissolved.
  3. Infuse: Pour the mixture into a clean mason jar or other decorative glass bottles. Seal tightly and place in the refrigerator for 22 days. This extended resting period allows the flavors to meld beautifully.
  4. Strain: After 22 days, strain the cordial through a fine sieve or cheesecloth to separate the liquid from the cranberries. You can reserve the infused cranberries to use as a delicious ice cream topping!
  5. Serve: Enjoy your homemade cranberry cordial chilled in cordial glasses. For an elegant touch, garnish with a sprig of fresh mint or rosemary and a couple of whole fresh cranberries.

Cheers to a festive season!

Bourbon Baked Apple en Croûte with Pecan Praline Ice Cream


Bourbon Baked Apple en Croûte with Pecan Praline Ice Cream

This elegant dessert features tender, bourbon-infused apples wrapped in crispy phyllo, complemented by a rich caramel sauce and nutty ice cream.

Baked Apples

  • 6 small Braeburn, Gala, or Granny Smith apples, peeled and cored
  • 2 oz (56g) salted butter
  • 2 tsp ground cinnamon
  • 1/4 tsp ground cloves
  • 1/4 cup (50g) brown sugar
  • 1/4 cup (60ml) bourbon

Instructions: Combine all ingredients in a vacuum-sealable bag. Seal the bag and place it in a Sous Vide water bath set to 77°C (170°F) for 45 minutes to 1 hour, or until the apples are slightly softened. Remove and cool the apples completely in the refrigerator.

Apple Filling

  • 1/2 cup (100g) brown sugar
  • 3 oz (85g) softened butter
  • 1 tsp cinnamon

Instructions: Cream together the butter, brown sugar, and cinnamon until well combined. Transfer the mixture to a piping bag fitted with a round tip. Fill the center of each cooled apple with this mixture.

Phyllo Preparation

  • 1 package phyllo dough sheets
  • 12 oz (340g) butter, melted

Instructions: Lay one sheet of phyllo dough on a clean cutting board and cut it into a 10-inch square. Brush the square with melted butter. Place a second 10-inch phyllo square on top and brush with melted butter. Repeat this process until you have four buttered layers.

Assembly and Baking

  1. Place one prepared apple in the center of the stacked phyllo squares.
  2. Gather the corners of the phyllo up to the center, creating a pouch with a decorative, floral-like top. Gently press to secure.
  3. Repeat for the remaining apples.
  4. Bake the phyllo-wrapped apples in a 375°F (190°C) oven for 15 minutes, or until they are golden brown and crispy.

Bourbon Caramel Sauce

  • 1 cup (200g) granulated sugar
  • 1/2 cup (120ml) water
  • 1/4 cup (60ml) heavy cream
  • 1 tbsp (14g) unsalted butter
  • Pinch of kosher salt
  • 1 oz (30ml) bourbon

Instructions: In a heavy 1-quart saucepan, combine the sugar and water. Cook over medium-high heat until the caramel reaches the color of dark coffee (without stirring, swirl occasionally to ensure even cooking). Carefully whisk in the heavy cream and butter. Remove from heat and stir in the kosher salt and bourbon. Cool completely and set aside.

Presentation

To serve, generously spoon bourbon caramel sauce onto plates. Place a warm, crispy phyllo-baked apple on top of the sauce. Finish by serving with a scoop of pecan praline ice cream.